If you love easy, hands-off cooking that fills your kitchen with warm, comforting aromas, slow cooker sweet potatoes are about to become your new favorite trick. No boiling, no roasting, no babysitting—just soft, naturally sweet potatoes ready whenever you are.
Whether you’re meal prepping for the week, building healthy bowls, or just want an effortless side dish, this method delivers perfectly tender sweet potatoes with almost zero effort.
Why Slow Cooker Sweet Potatoes Are So Good
The slow cooker transforms simple sweet potatoes into something incredibly soft, sweet, and creamy without needing any extra ingredients.
Here’s why this method works so well:
- Completely hands-off cooking (just set and forget)
- Naturally enhances sweetness over time
- Perfect for meal prep and batch cooking
- No boiling water or oven required
- Great texture for mashing, slicing, or serving whole
Unlike other methods, slow cooking gently breaks down starches over hours, creating that rich, almost caramel-like flavor everyone loves.
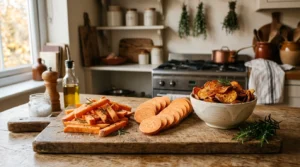
What You’ll Need (Super Simple Ingredients)
You only need a few basic items:
- Medium-sized sweet potatoes (similar size cooks evenly)
- Optional: foil (for wrapping)
- Slow cooker (Crock-Pot style works best)
- No water required
Optional toppings after cooking:
- Butter or olive oil
- Cinnamon, salt, or chili flakes
- Honey or yogurt for sweet bowls

Step-by-Step: How to Cook Sweet Potatoes in a Slow Cooker
1. Wash and Prep
Start by washing your sweet potatoes thoroughly. Scrub off any dirt since you’ll usually cook them with the skin on.
You can also pierce them with a fork 2–3 times to allow steam to escape during cooking.
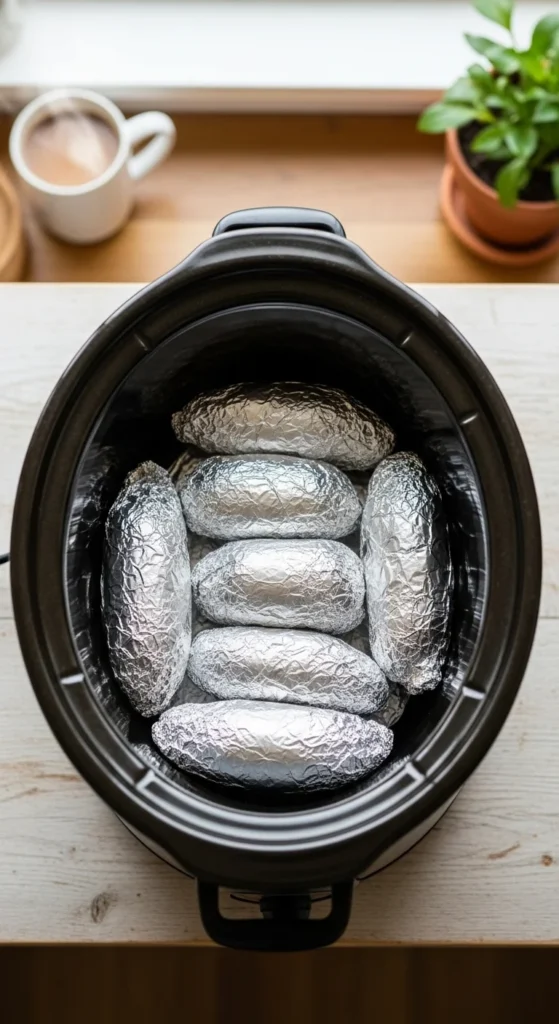
2. Wrap or Leave Unwrapped
You have two popular options:
- Unwrapped: More rustic texture and slightly caramelized skin
- Foil-wrapped: Softer skin and more moisture control
Both methods work—foil just gives a slightly more “steamed baked” result.
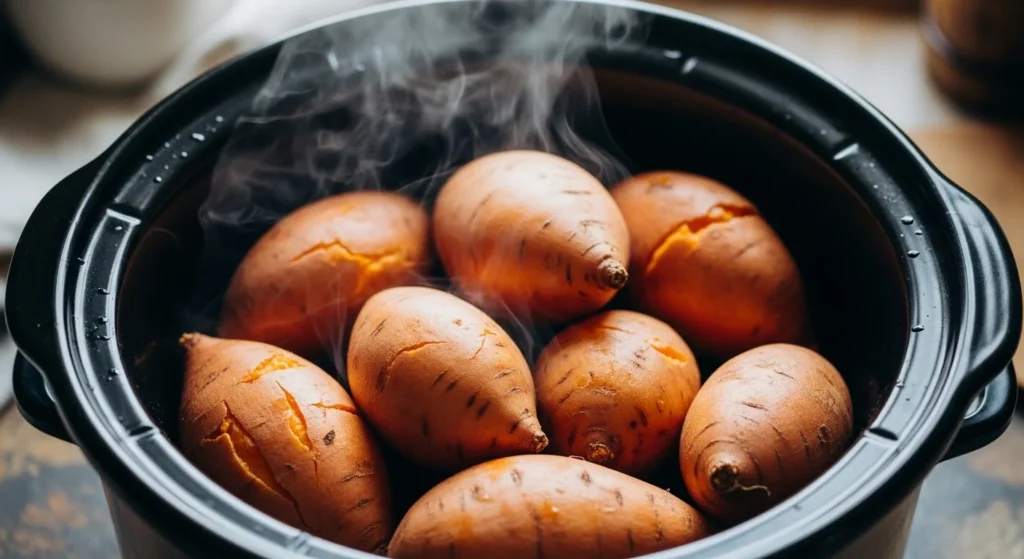
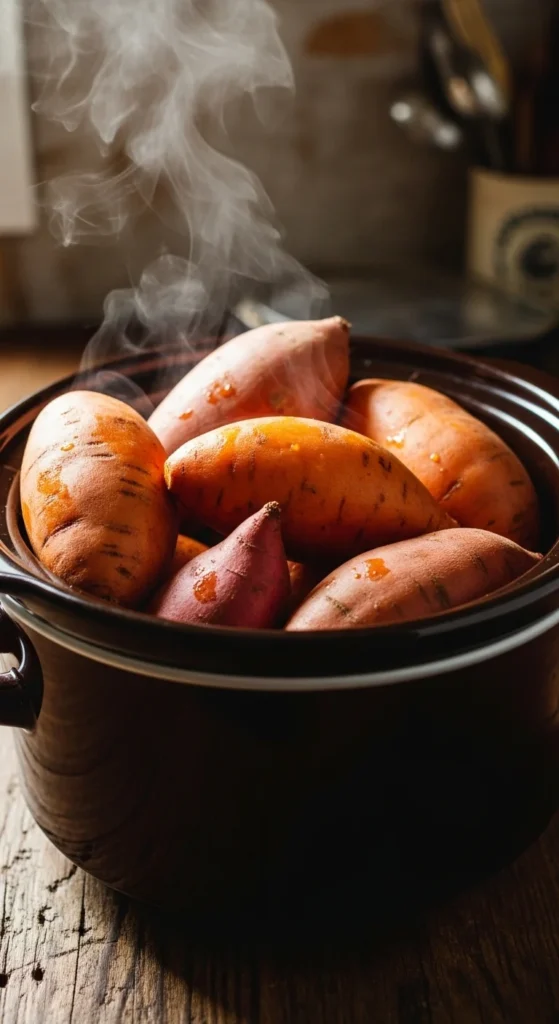
3. Load the Slow Cooker (No Water Needed)
Place sweet potatoes directly into the slow cooker. Do NOT add water—this is a key SERP insight.
The natural moisture inside the sweet potatoes is enough to cook them perfectly.
4. Cook Low and Slow
Now set your slow cooker:
- LOW setting: 6–8 hours (best texture)
- HIGH setting: 3–4 hours (faster option)
Avoid opening the lid too often, as it releases heat and increases cooking time.
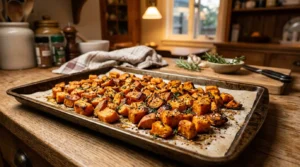
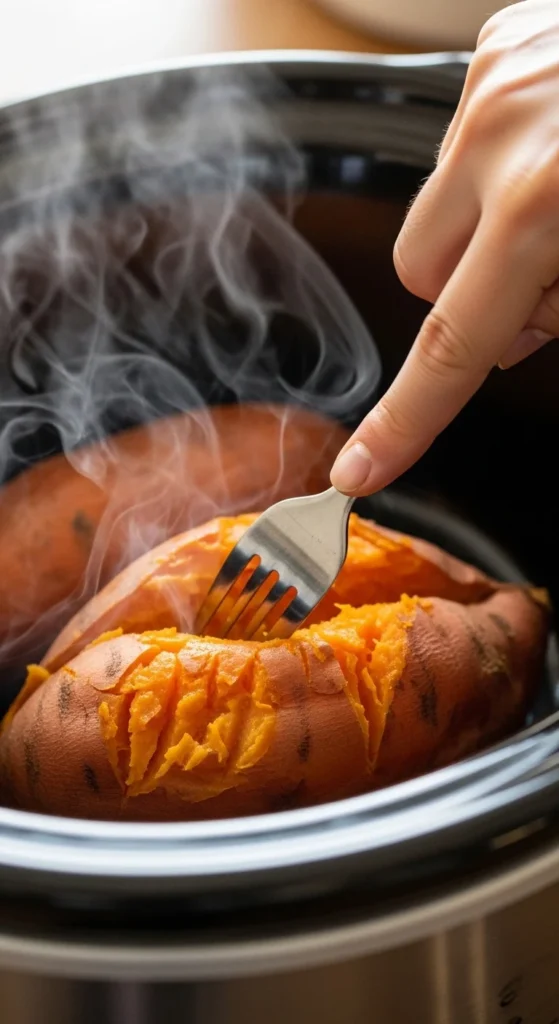
How to Know When They’re Done
Sweet potatoes are ready when:
- A fork slides in effortlessly
- The inside feels soft and fluffy
- The skin looks slightly wrinkled
This “fork-tender” texture is the universal doneness standard used in most recipes.
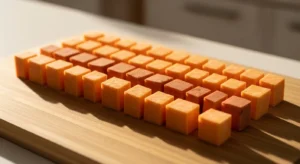
Cut vs Whole: What Works Best?
Most SERP recipes strongly recommend cooking whole sweet potatoes.
Why?
- More even cooking
- Better moisture retention
- Less risk of drying out
- Easier meal prep
Cut sweet potatoes cook faster, but they often become dry or uneven in texture.
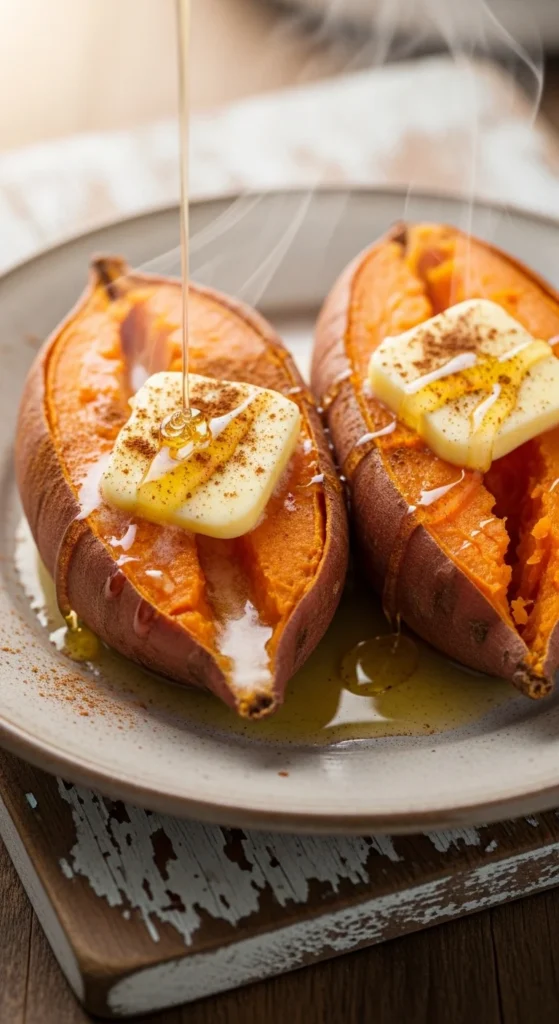
Flavor Ideas After Cooking
Once cooked, sweet potatoes are a blank canvas. You can go sweet or savory depending on your mood.
Try these ideas:
- Butter + salt for classic comfort
- Cinnamon + honey for a sweet treat
- Olive oil + chili flakes for a savory kick
- Yogurt + herbs for a healthy bowl base
Meal Prep + Storage Tips
Slow cooker sweet potatoes are perfect for weekly meal prep.
- Store in fridge: up to 5 days
- Freeze (mashed): up to 2 months
- Reheat in microwave or oven until warm
They’re great for breakfast bowls, lunch sides, or quick dinners.
Common Mistakes to Avoid
Even though this method is simple, a few mistakes can ruin texture:
- Adding water (not needed and causes sogginess)
- Mixing different sizes (uneven cooking)
- Opening lid too often (extends cooking time)
- Overcooking on high (can turn mushy)
Stick to the basics and you’ll get perfect results every time.
Final Thoughts
Slow cooker sweet potatoes are the definition of effortless cooking—just prep, set, and forget. After a few hours, you’ll have soft, naturally sweet potatoes ready for anything from meal prep bowls to cozy side dishes.
If you’re looking for a budget-friendly, healthy, and zero-stress recipe, this one is a must-try.
Save this recipe—you’ll end up using it again and again.