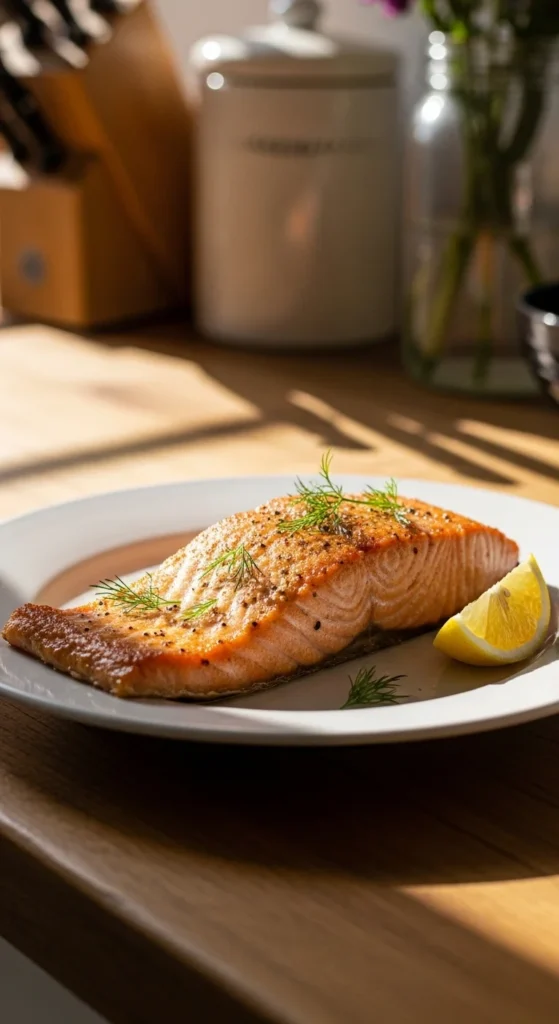
You know that feeling when you’ve cooked a perfect salmon dinner—but there’s just a little too much left? Instead of forcing leftovers the next day, what if you could save it for later… and have it taste just as good weeks from now?
Freezing cooked salmon is one of the smartest meal prep hacks—if you do it right.
Done properly, frozen salmon stays flaky, flavorful, and ready for quick meals anytime. Let’s break it down step-by-step so you can freeze it like a pro.
Why Freezing Cooked Salmon Is Worth It
Freezing isn’t just about saving leftovers—it’s about making your life easier.
Here’s why it works:
- Extends shelf life up to 2–3 months
- Perfect for meal prep
- Reduces food waste
- Saves time on busy days
👉 The key is protecting texture and avoiding freezer burn
Step 1: Cool It Completely (But Not Too Long)
Before freezing, your salmon needs to cool properly.
Do this:
- Let it cool at room temperature
- Don’t leave it out longer than 2 hours
👉 Cooling prevents condensation, which can cause mushy texture later
Important:
Never freeze hot salmon—it traps steam and ruins the texture.
Step 2: Pat Dry for Better Texture
This step is small—but powerful.
- Use paper towels to gently pat the salmon dry
👉 Removing excess moisture helps prevent ice crystals from forming
Step 3: Portion Before Freezing
Don’t freeze one big piece unless you plan to eat it all at once.
Instead:
- Divide salmon into single servings
- Wrap portions individually
👉 This makes thawing faster and avoids repeated reheating

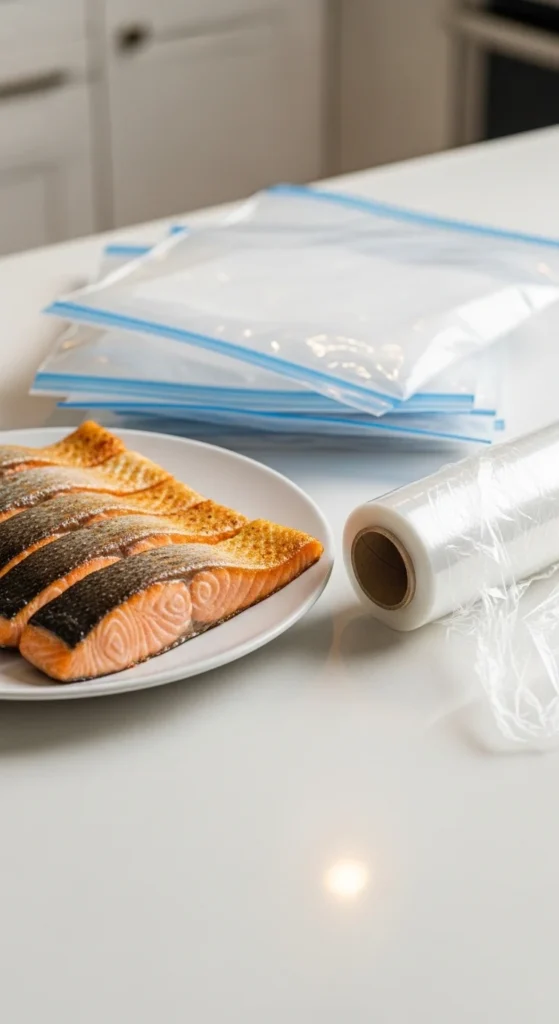
Step 4: Use the Double-Wrap Method (Game-Changer!)
This is the secret to avoiding freezer burn.
How to wrap:
- Wrap each piece tightly in plastic wrap
- Place wrapped salmon into a freezer bag
- Press out as much air as possible
👉 Less air = better texture and flavor later
Even better:
Use a vacuum sealer if you have one—it’s the ultimate protection.
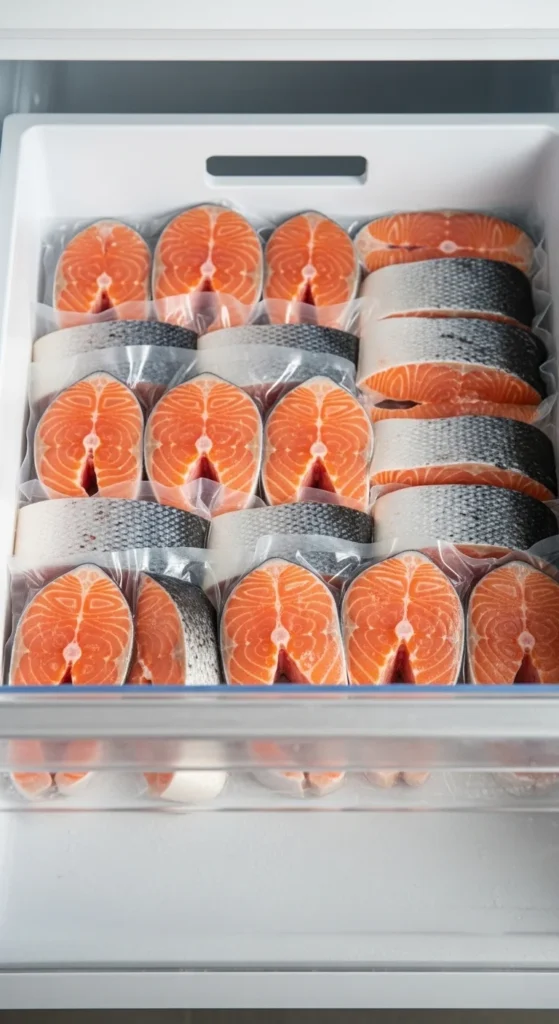
Step 5: Freeze It the Right Way
Where and how you place your salmon matters.
Best practice:
- Freeze at 0°F (-18°C)
- Lay pieces flat in the freezer
- Store in the coldest section (not the door)
👉 Flat freezing helps it freeze evenly and maintain texture
Step 6: Label and Track (Don’t Skip This!)
It’s easy to forget what’s in your freezer.
Always:
- Label each bag with the date
- Use within 2–3 months for best quality
👉 While it stays safe longer, flavor and texture are best within this window
Bonus: Smart Freezing Variations
Want to make your future meals even easier?
Try this:
- Flake salmon before freezing (great for salads and bowls)
- Freeze with sauce (helps retain moisture)
- Remove crispy skin before freezing (it won’t stay crisp)
👉 These small tweaks make reheating and serving much easier
How to Thaw Frozen Cooked Salmon (The Right Way)
When you’re ready to eat:
- Thaw in the fridge overnight
- Never use a microwave for thawing
👉 Slow thawing keeps the texture intact and prevents dryness
Common Mistakes to Avoid
Avoid these and your salmon will stay delicious:
- ❌ Freezing while still warm
- ❌ Skipping the double-wrap
- ❌ Leaving air in the bag
- ❌ Freezing large portions only
- ❌ Forgetting to label
Easy Meal Ideas Using Frozen Salmon
Once thawed, your salmon is ready for anything:
- Toss into salads
- Add to pasta or rice bowls
- Make salmon wraps or sandwiches

Final Takeaway
Freezing cooked salmon is one of the easiest ways to save time and reduce waste—without sacrificing flavor.
Just remember:
- Cool it properly
- Portion it smartly
- Wrap it tightly
- Freeze it flat
Do this, and your future meals will be just as delicious as day one.
✨ Save this guide for later—because having ready-to-go salmon in your freezer is a total game-changer!