Think dairy-free cookies can’t taste buttery, rich, and irresistible? Think again. The truth is, when made correctly, no one can tell they’re dairy-free. The secret lies in choosing the right fat, balancing brown sugar for chew, and baking just until the centers are perfectly soft.
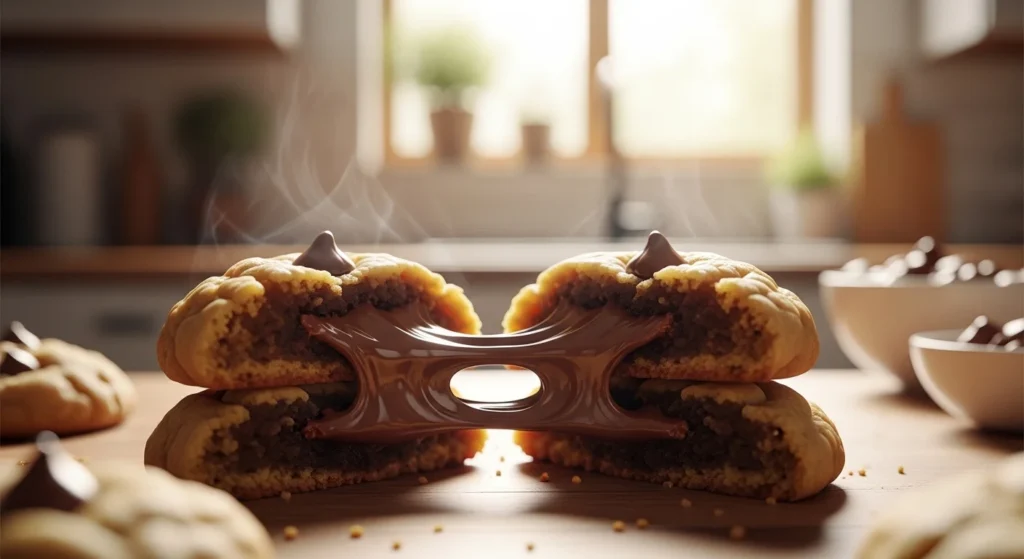
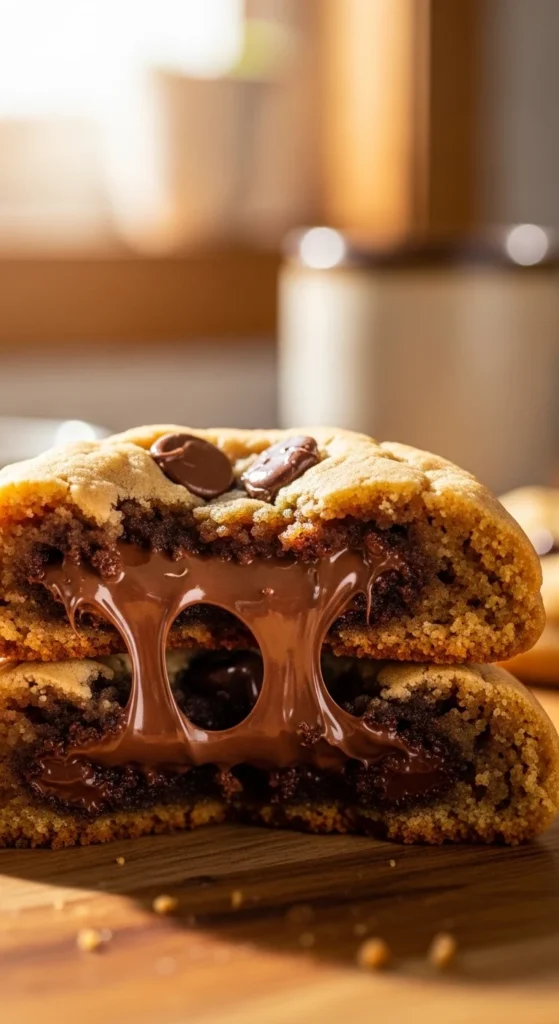
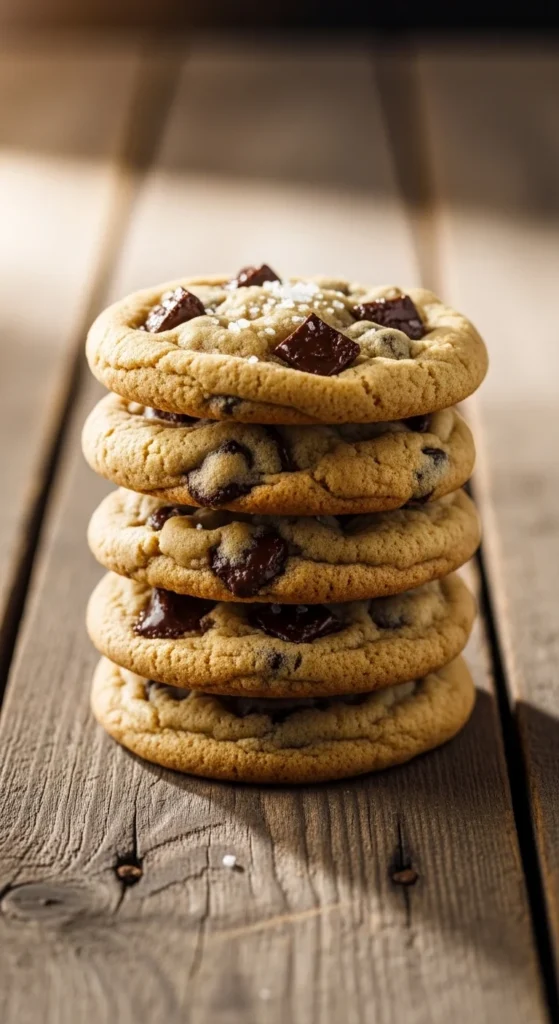
These cookies deliver crisp edges, chewy centers, and pools of melted chocolate—everything you love about classic chocolate chip cookies, without the dairy.
Let’s break down exactly how to make them taste amazing.
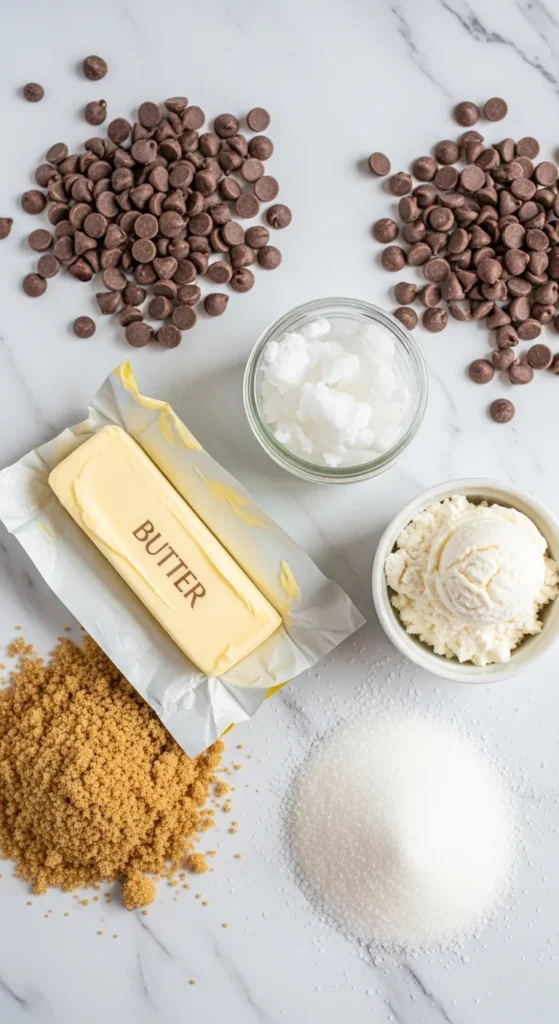
Choose the Right Dairy-Free Fat (This Is Everything)
The fat you use determines flavor, spread, and texture.
Here are your best options:
- Vegan butter (softened) – Most “buttery” flavor, best for classic results
- Refined coconut oil – Neutral taste, crisp edges, slightly thinner cookies
- Shortening – Surprisingly close to traditional butter flavor and stable texture
If you want cookies that truly mimic bakery-style classics, softened vegan butter is the safest choice.
Pro Tip: Make sure your fat is at room temperature before creaming. This helps create structure and prevents greasy spreading.
Brown Sugar = Chewy Texture
If your cookies ever turned out dry, this is probably why.
For soft dairy-free cookies:
- Use ¾ to 1 cup packed brown sugar
- Add a small amount of white sugar for crisp edges
- Don’t skip the vanilla (1–2 teaspoons)
Brown sugar contains molasses, which holds moisture and keeps cookies soft for days. It’s the reason your cookies will have that signature chewy bite.
Add a Texture Booster (Cornstarch Magic)
A small addition makes a big difference.
Add 1–2 teaspoons cornstarch to the dry ingredients.
It helps:
- Prevent dryness
- Keep centers soft
- Reduce crumbly texture
- Mimic tender bakery cookies
Think of it as your dairy-free insurance policy.
One-Bowl Method (Easy & Quick)
Most top dairy-free recipes follow a simple process:
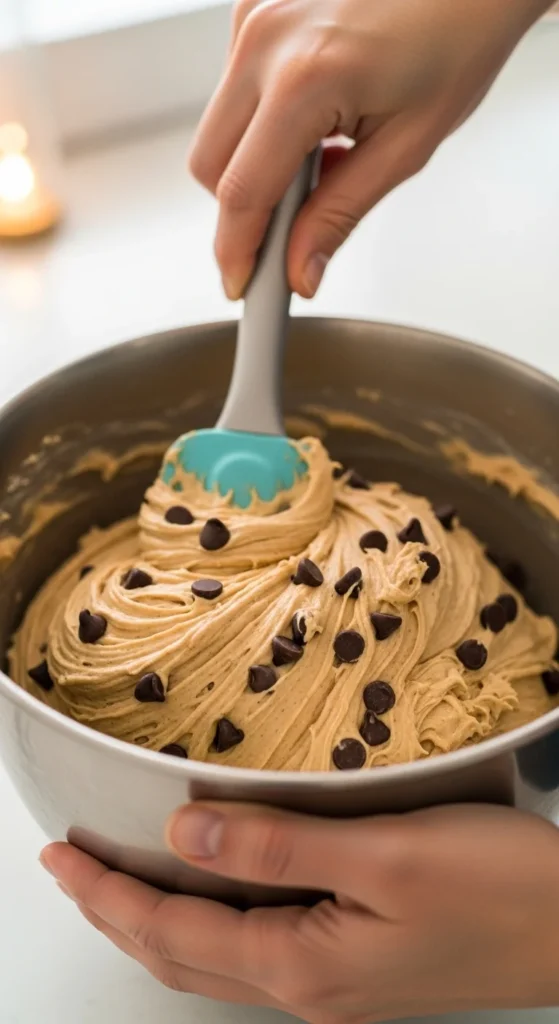
Step 1: Cream the fat and sugars
- Beat softened vegan butter (or chosen fat)
- Add brown + white sugar
- Mix until fluffy and slightly lighter in color
Step 2: Add wet ingredients
- 1–2 tsp vanilla
- Optional: dairy-free yogurt or flax egg (if you want a vegan version)
Step 3: Mix dry ingredients
- Flour
- Baking soda (¾–1 tsp)
- Salt
- Cornstarch
Mix just until combined. Overmixing makes cookies tough.
Step 4: Fold in chocolate chips
Use dairy-free semi-sweet chips or chocolate chunks. Fold gently.
Melted vs. Creamed Fat (Texture Differences)
You have two options depending on the texture you prefer:
Creamed fat (softened vegan butter)
- Thicker cookies
- Soft centers
- Slightly cakier structure
Melted fat (melted coconut oil or butter)
- Thinner cookies
- Chewier texture
- Crispier edges
If you want chewy with defined edges, melted fat is a great experiment.
Scoop, Bake, and Watch Closely
Precision matters.
- Use 1.5–2 tablespoon scoops
- Space cookies 2 inches apart
- Bake at 350°F (175°C) for 8–11 minutes
Pull them out when:
- Edges are lightly golden
- Centers still look slightly soft
They’ll continue baking on the sheet.

The Cooling Step Is Crucial
Let cookies cool on the baking sheet for 5–10 minutes before transferring.
This allows:
- Structure to set
- Chewy centers to firm properly
- Chocolate to settle into soft pockets
Moving them too soon can cause breakage.
Common Dairy-Free Cookie Problems (And Fixes)
Bland Flavor
- Use quality vegan butter
- Add extra vanilla
- Sprinkle flaky sea salt on top
Too Greasy or Spreading Too Much
- Chill dough 20–30 minutes
- Make sure fat wasn’t overheated
- Measure flour accurately
Hard or Dry Cookies
- Increase brown sugar slightly
- Add cornstarch
- Don’t overbake
Not “Buttery” Enough
- Try shortening
- Use refined coconut oil for a neutral flavor
- Upgrade your chocolate quality
Flavor Upgrades That Make Them Incredible
Want bakery-style wow factor?
- Sprinkle flaky sea salt before baking
- Use chopped dark chocolate instead of just chips
- Add mini chocolate chips for even melt distribution
- Mix chips + chunks for texture contrast
Storage Tips to Keep Them Soft
- Store in an airtight container for 4–5 days
- Add a small slice of bread to maintain moisture
- Freeze baked cookies up to 2 months
- Freeze dough balls for fresh-baked cookies anytime
Final Takeaway
Dairy-free chocolate chip cookies don’t have to taste like a substitute. When you:
- Use quality vegan butter or refined coconut oil
- Lean into brown sugar for chew
- Add cornstarch for softness
- Bake just until the centers look slightly underdone
You’ll get cookies with crisp edges, soft chewy centers, and rich chocolate flavor that truly rivals the classic.
Save this recipe for later—and the next time someone says dairy-free cookies can’t taste amazing, hand them one of these. 🍪✨